DISTRIBUTION OF TIZEN-BASED WATCH APPS HAS BEEN DISCONTINUED
Without Phone Connection (WPC) Mode
Galaxy Watch is usually used after connecting to a mobile device through Samsung Galaxy Watch App.
However, Galaxy Watch can also be used without pairing with a mobile device at all. This mode is called “Without Phone Connection (WPC)” mode. It is the state in which Galaxy Watch has never been paired with a mobile device using the out-of-the-box (OOTB) step as shown in the below illustration. WPC mode does not refer to the state when Galaxy Watch is temporarily disconnected from the mobile device.

Consider Restrictions
Because there is no connected mobile device, it is good practice to consider the following restrictions for your Galaxy Watch application in WPC mode.
- Network proxy via the mobile device is not available.
- Companion applications using SAP, Remote App Control, and In-App Purchase (IAP) do not work.
Distributing Application
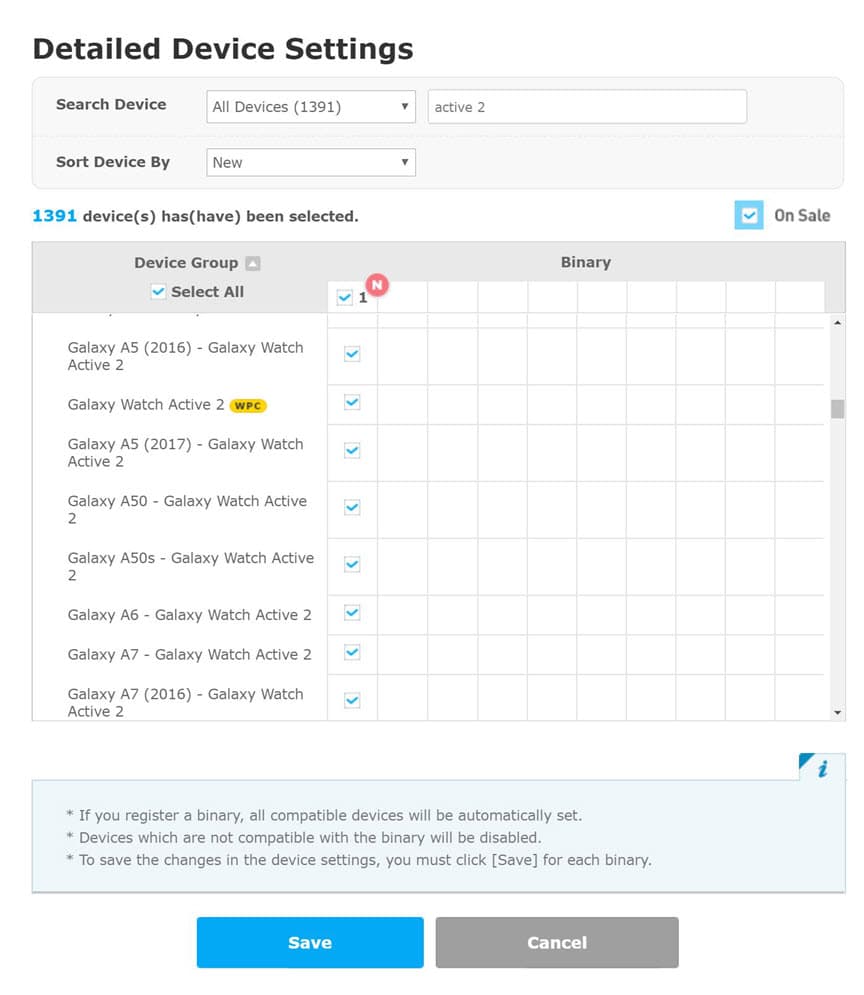
Although Galaxy Watch is in WPC mode, a user can download the application via Galaxy Apps in Galaxy Watch. To make your app is available for download in WPC mode, please select the “Galaxy Watch-WPC” group in the list of devices from the Seller Office. The “Galaxy Watch-WPC” group is the Galaxy Watch device that is not paired with any mobile phone in the list of devices and having WPC badge.
For standalone applications, which do not use mobile-interworking APIs such as SAP, Remote App Control, and IAP, this Galaxy Watch-WPC group is selected automatically after uploading the binary.
For companion applications, WPC mode is not selected. (The seller can select it manually; however, he or she should consider the restrictions before doing so.)