Using Health Services on Galaxy Watch
Samsung Developer
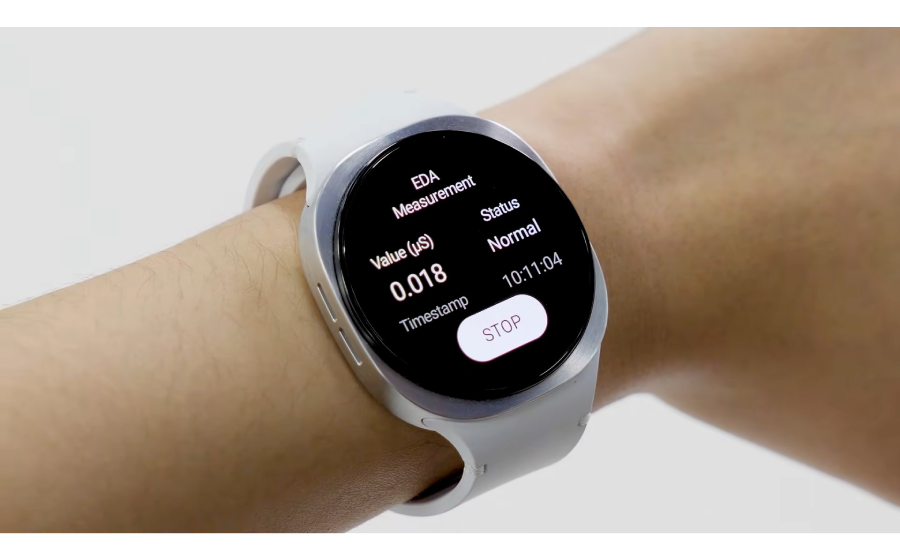
Health Services provides an advanced set of APIs that allow your application to take full advantage of the powerful hardware available on Galaxy Watches running Wear OS Powered by Samsung. Thanks to this careful combination of hardware and software, applications are able to reliably track information from sensors in the watch. This solution allows developers to specify what type of data they are using in their applications, as well as allowing users to decide what data can be processed and accessed.
Getting things ready to take advantage of Health Services
Health Services works on devices such as Galaxy Watch4 and Galaxy Watch4 Classic operating on Wear OS Powered by Samsung. Health Services requires Android 11 (API level 30) or above.
Add required information to your app’s configuration files
To start using Health Services in a new or existing Android Studio project, you just need to follow a series of steps described below:
- Add the appropriate library dependency to your app’s build.gradle file.
dependencies {
	implementation 'androidx.health:health-services-client:1.0.0-alpha03
	// ...
}
- In your app’s android manifest, add the necessary configuration to allow your app to connect with the health service.
<queries>
    <package android:name="com.google.android.wearable.healthservices" />
</queries>
- Add the permissions required by your app.
<uses-permission android:name="android.permission.BODY_SENSORS" />
<uses-permission android:name="android.permission.ACTIVITY_RECOGNITION" />
<uses-permission android:name="android.permission.FOREGROUND_SERVICE" />
<uses-permission android:name="android.permission.ACCESS_FINE_LOCATION" />
In order to improve the security of your application and to ensure a good user experience, you should only add the permissions that are required by your application from the list above.
- Additionally, if your application features passive monitoring, you have to add the lines below to your app’s manifest to register the health event broadcast receiver.
<receiver
android:name="com.samsung.android.eventsmonitor.EventBroadcastReceiver"
android:exported="true">
	<intent-filter>
		<action
		android:name="hs.passivemonitoring.HEALTH_EVENT" />
	</intent-filter>
<receiver/>
Requesting permissions programmatically
Apart from being registered in the app’s manifest, permissions have to be requested programmatically to validate and get user consent at runtime. The code below shows how to request these permissions:
requestPermissions(new String[] {Manifest.permission.BODY_SENSORS,
        Manifest.permission.FOREGROUND_SERVICE,
        Manifest.permission.ACTIVITY_RECOGNITION,
        Manifest.permission.ACCESS_FINE_LOCATION}, 0);
At runtime, if your application has requested the permissions correctly, a popup similar to the one below appears after the execution of your application:

To get the result of the permission request you have made previously, you should check the result as shown in the code below:
@Override
public void onRequestPermissionsResult(int requestCode,
				@NonNull String[] permissions, @NonNull int[] grantResults) {
    if(requestCode == 0) {
        List<String> notGrantedPermissions= new LinkedList<>();
        setPermissionGranted(true);

        for(int i=0; i<permissions.length; i++) {
            if(grantResults[i] == PERMISSION_DENIED) {
                setPermissionGranted(false);
                notGrantedPermissions.add(permissions[i]);
            }
        }

        if(!getPermissionGranted()) {
            // Handle permission denied here.
        }
    }
    super.onRequestPermissionsResult(requestCode,permissions,grantResults);
}
Checking the device capabilities
There is nothing more annoying than an application that does not work as expected, causing a bad user experience or even worse, a crash. Fortunately, Health Services provides a way to verify if the current setup you have configured supports the functionality required. It accomplishes this by using APIs to get the capabilities and supported data types for the current configuration. This allows developers to handle errors and decide the best way to notify the users of the app about potential problems.
The code below is an example of the usage of such APIs for ExerciseClient:
// Connection to the Health Services
HealthServicesClient healthClient = HealthServices.getClient(this);
ExerciseClient exerciseClient = healthClient.getExerciseClient();

ListenableFuture<ExerciseCapabilities> capabilitiesFuture =
										passiveClient.getCapabilities();

Futures.addCallback(capabilitiesFuture,
        new FutureCallback<ExerciseCapabilities>() {
            @Override
            public void onSuccess(@Nullable ExerciseCapabilities result) {
                runningCapabilities  = result
                        .supportedDataTypesExcercise()
                        .contains(ExerciseType.RUNNING)
            }

            @Override
            public void onFailure(Throwable t) {
                // display an error
            }
        },
        ContextCompat.getMainExecutor(this));
Enjoy your adventure creating the ultimate health application
Now that you have finally set up Health Services in your app’s project, you are ready to start using the APIs to enhance the capabilities of your application. We encourage you to check our next series of posts to discover even more from Health Services on Galaxy Watch!


