Integrate the Samsung In-App Purchase Orders API with Your Application
Md. Hossain
Engineer, Samsung Developer Program
Samsung In-App Purchase (IAP) offers developers a robust solution for handling digital transactions within mobile applications available on Galaxy Store. Whether it is selling digital goods, handling subscriptions, or managing refunds, Samsung IAP is designed to offer a smooth, secure experience. The Samsung IAP Orders API expands the scope of these benefits. You can fetch all the payments and refunds history according to specified dates on your server to easily manage your application. This content guides you through the essential components for implementing both the Samsung IAP and Samsung IAP Orders APIs.
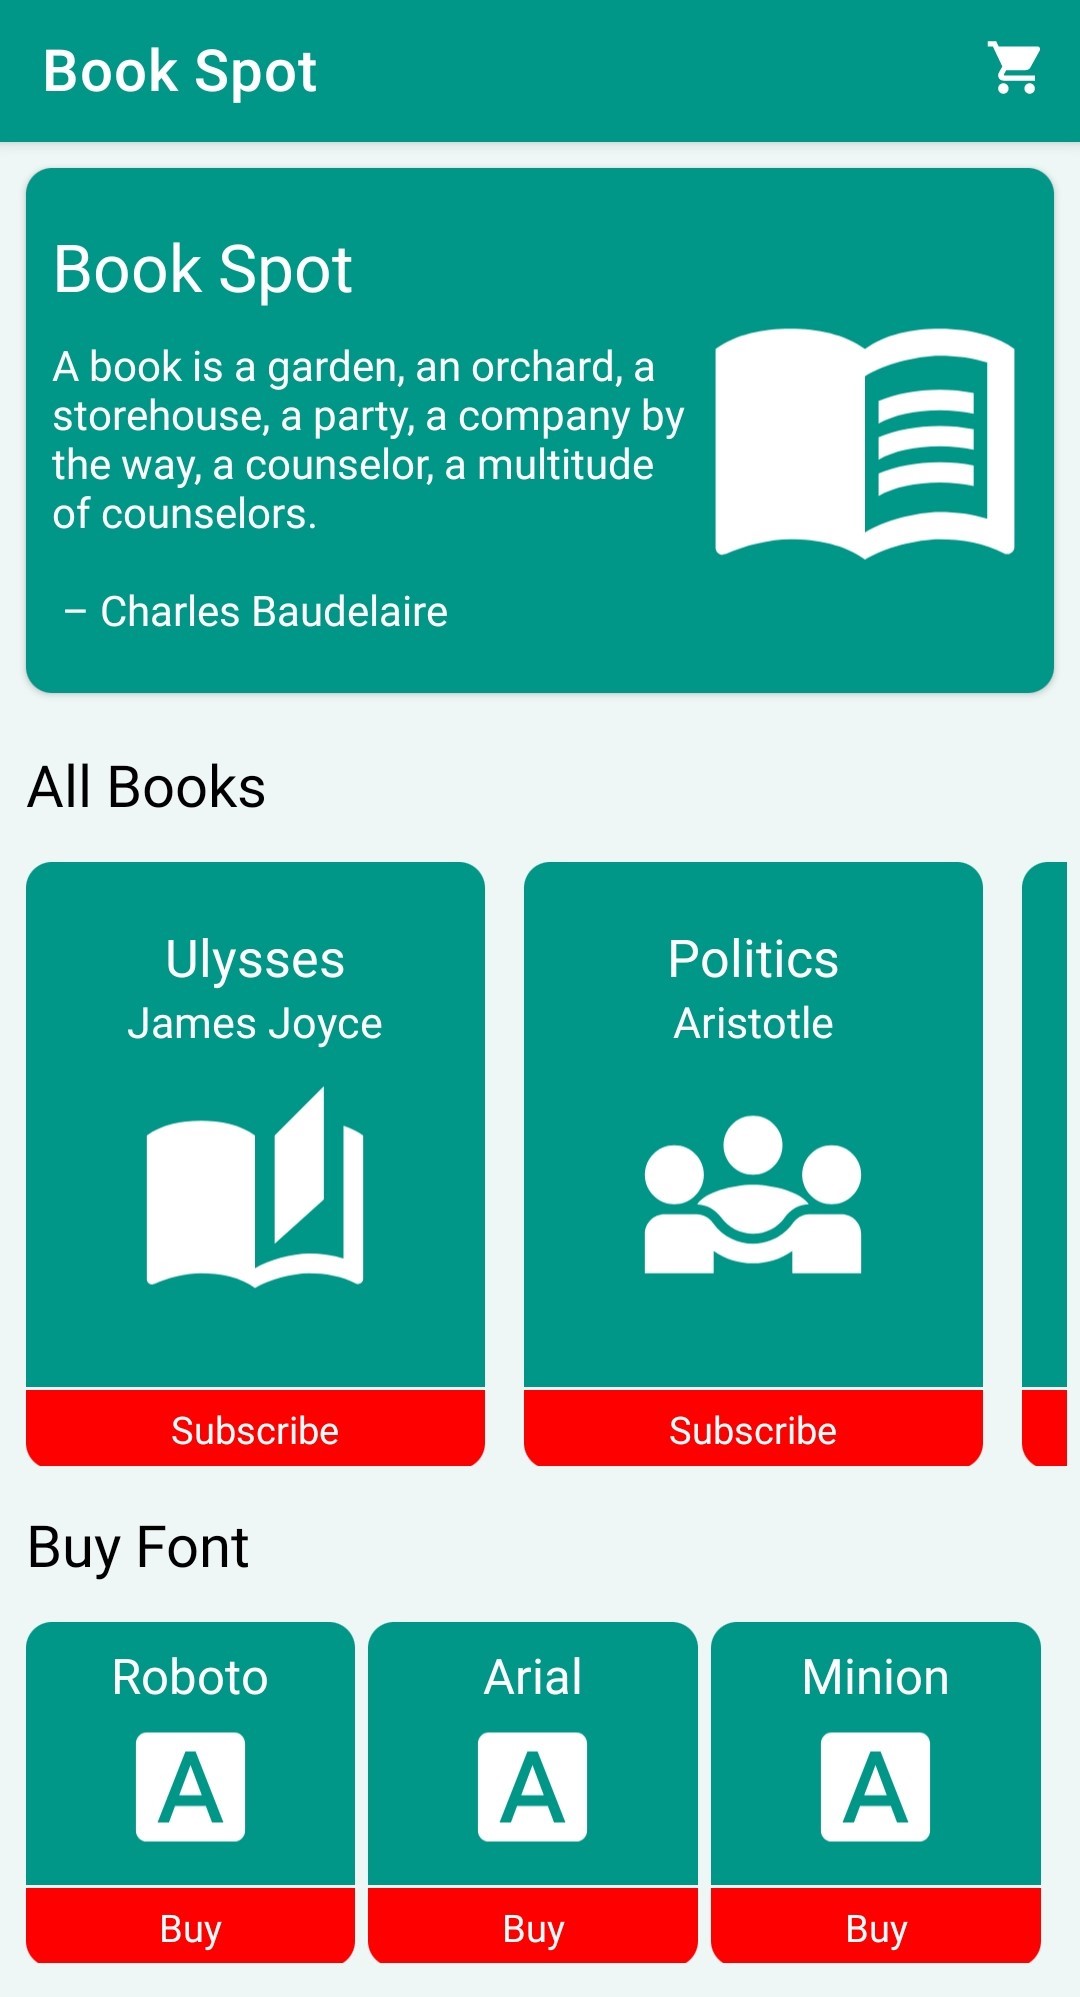
In this tutorial, we provide a sample Android application called Book Spot, which offers users the option to subscribe to their favorite books and consumable items, such as text fonts, for purchase. This user application is provided to help you to integrate Samsung IAP SDK with your applicaiton.
Finally, we also provide a sample server application to view all the payment and refund history on specific dates by calling the Samsung IAP Orders API from the back-end server.
Prerequisites
Before implementing the Samsung IAP Order API on your server, you need to perform IAP functionalities to retrieve purchase history. You need to integrate Samsung IAP with your application. If you don't have an app yet, follow these steps to ensure a smooth and effective process.
Step 1: Implement Samsung IAP in Your App
To integrate the IAP system into your application, follow this general flow.
- Integrate the Samsung IAP SDK into your application.
- Initiate item purchase by calling
startPayment()with the necessary parameters, such as the item ID and a listener to handle the results. - After the transaction, verify whether the purchase is successful with
iap/v6/receipt. This involves checking if the purchase ID is valid. Follow the Ensuring Secure Purchases Using the Samsung IAP Server API for more details. - Once the purchase is confirmed, allow the item to be consumed using
consumePurchaseItems(). This step ensures that the item can be repurchased if needed.
For more information about the IAP SDK integration, you can follow the Integration of Samsung IAP Services in Android Apps article. Also get help from the sample Android application.
Step 2: Upload Your Application
Upload the application for Beta testing on Galaxy Store. A step-by-step guide with screenshots has been provided in the documentation. For more details, see the section “Production Closed Beta Test” in the Test Guide.
Step 3: Purchase Items
Finally, create products in Seller Portal so that users can purchase or subscribe to them while using the application. For more details about the available items that Seller Portal supports, see the Programming Guide.
Implementation of the Samsung IAP Orders API
The Samsung IAP Orders API is used to view all payments and refunds on a specific date. It does this by fetching the payments and refunds history within the date you specified. Let’s implement the Samsung IAP Orders API and create a server to listen to its response. Through server-to-server communication, the API returns all order data for the application.
Overview of the Orders API
To view all payments and refunds:
- You must make a
POSTrequest to the Samsung IAP Orders API endpoint with the required headers specified below. - If you specify a date, all the payment history within this date is returned. Otherwise, it only returns all the data from the day before the current date.
API Endpoint: https://devapi.samsungapps.com/iap/seller/orders
Method: POST
Headers:
Add the following fields to the request header. For more information, see the Create an Access Token page, which will help you understand how to create the access token in detail. The token is used for authorization. You can also get the Service Account ID by clicking the Assistance > API Service tabs on Seller Portal. For more details, read the section Create a service account and visit Seller Portal.
| Header Name | Description | Required/Optional | Values |
|---|---|---|---|
| Content-Type | Format of the request body | Required | application/json |
| Authorization | Authorization security header | Required | Bearer: access_token |
| Service Account ID | This ID can be created in Seller Portal and is used to generate the JSON Web Token (JWT) | Required | service-account-id |
Parameters:
The following parameters can be used to build your POST request.
| Name | Type | Required/Optional | Description |
|---|---|---|---|
| sellerSeq | String | Required | Your seller deeplink, which is found in your profile in Seller Portal and consists of a 12-digit number. |
| packageName | String | Optional | Used to view payment and refund data. You can provide the application package name. When a package name is not specified, the data for all applications is shown. |
| requestDate | String | Optional | Specify a date from which to view the payment and refund data. If the date is not specified, the data from a day before your current date is returned. |
| continuationToken | String | Optional | Use this if you want to check if there is a continuation for the data on the next page. If there is no more data, the response is null. |
Configuring the Server
You can develop a Spring Boot server for this purpose. Here are the guidelines on how to set up this server.
- Set up a Spring Boot Project. For more information, follow the steps in Developing Your First Spring Boot Application.
- Set up your server endpoint.
- Create a controller for the Samsung IAP Orders API in an integrated development environment (IDE) after importing the Spring Boot project you created. This helps managing all in-app order-related activities and processing them within your application.
- The controller receives
POSTrequests sent from Samsung’s IAP orders service ensuring the communication with your application.
To ensure smooth communication with the Samsung IAP Orders API, it's essential to structure your server requests effectively. Below is a clear and concise breakdown of the process.
1. Setup dependencies
To implement REST API support, add the following OkHttp library dependencies to your application's build.gradle file.
implementation 'com.squareup.okhttp3:okhttp: version'
implementation 'com.google.code.gson:gson: version'
2. Define Parameters
Encapsulate request parameters for cleaner handling.
public class OrderRequest {
    private final String sellerSeq;

    public OrderRequest(String sellerSeq) {
        this.sellerSeq = sellerSeq;
    }

    public String toJson() {
        return String.format("{\"sellerSeq\":\"%s\"}", sellerSeq);
    }
}
3. Build the HTTP Request
Centralize request configuration for maintainability.
public class OrderService {
    private static final String API_URL = "https://devapi.samsungapps.com/iap/seller/orders";
    private static final String TOKEN = "0DjT9yzrYUKDoGbVUlXXXXXX";
    private static final String SERVICE_ACCOUNT_ID = "85412253-21b2-4d84-8ff5-XXXXXXXXXXXX";
    private final OkHttpClient client = new OkHttpClient();

    public void sendOrderRequest(String sellerSeq) {
        OrderRequest orderRequest = new OrderRequest(sellerSeq);
        RequestBody body = RequestBody.create(orderRequest.toJson(), MediaType.parse("application/json; charset=utf-8"));

        Request request = new Request.Builder()
            .url(API_URL)
            .post(body)
            .addHeader("Authorization", "Bearer " + TOKEN)
            .addHeader("service-account-id", SERVICE_ACCOUNT_ID)
            .addHeader("content-type", "application/json")
            .build();

        executeRequest(request);
    }
}
4. Handle Response
Ensure robust error handling for API calls.
private void executeRequest(Request request) {
    client.newCall(request).enqueue(new Callback() {
        @Override
        public void onFailure(@NotNull Call call, @NotNull IOException e) {
            System.err.println("Request failed: " + e.getMessage());
        }

        @Override
        public void onResponse(@NotNull Call call, @NotNull Response response) throws IOException {
            try (ResponseBody responseBody = response.body()) {
                if (!response.isSuccessful()) {
                    System.err.printf("Unexpected response [%d]: %s%n", response.code(), responseBody.string());
                    return;
                }
                System.out.println("Response: " + responseBody.string());
            }
        }
    });
}
Congratulations! You have just built the Spring Boot server to handle API POST requests using the OkHttpClient to manage HTTP requests and responses for your sample application.
Example API Response
As previously mentioned, a JSON-formatted response is returned to your request. For detailed descriptions of each response body element, see the “Response” section of the Samsung IAP Orders API documentation. The following output format is a sample in which only some of the response-body data is presented.
- The
continuationTokenparameter key returnsnullbecause there is no continuation for the data on the next page. - The
orderItemListparameter key lists all the orders with specific details, such asorderId,countryId,packageName, among others.
{
  "continuationToken": null,
  "orderItemList": [
    {
      "orderId": "S20230210KR019XXXXX",
      "purchaseId": "a778b928b32ed0871958e8bcfb757e54f0bc894fa8df7dd8dbb553cxxxxxxxx",
      "contentId": "000005059XXX",
      "countryId": "USA",
      "packageName": "com.abc.xyz"
    },
    {
      "orderId": "S20230210KR019XXXXX",
      "purchaseId": "90a5df78f7815623eb34f567eb0413fb0209bb04dad1367d7877edxxxxxxxx",
      "contentId": "000005059XXX",
      "countryId": "USA",
      "packageName": "com.abc.xyz"
    },
  ]
}
Usually, the responses contain all the relevant information about user purchases, such as the in-app product title, price, and payment status. Therefore, you can use the information and create views for an easier order management.
Conclusion
You have learned how to implement product purchase, consumption, and registration, as well as how to integrate the Samsung IAP Orders API and configure a server to fetch all the payment and refund history within specific dates.
Integrating the Samsung IAP Orders API functionality into your server is an essential step in managing your application payments history to ensure a seamless experience to users. Now, you can implement the Samsung IAP Orders API into your application to track all payments, refunds and make your business more manageable.
Related Resources
For additional information on this topic, see the resources below:


