This section describes how to create a basic "Hello World" - type TV application with WebAssembly.
Creating a Web Application
The WebAssembly Web application is the main "container" for both the HTML/JavaScript and WebAssembly parts.
To create the Web application:
Select "File > New > Tizen Project" in the Tizen Studio main menu.
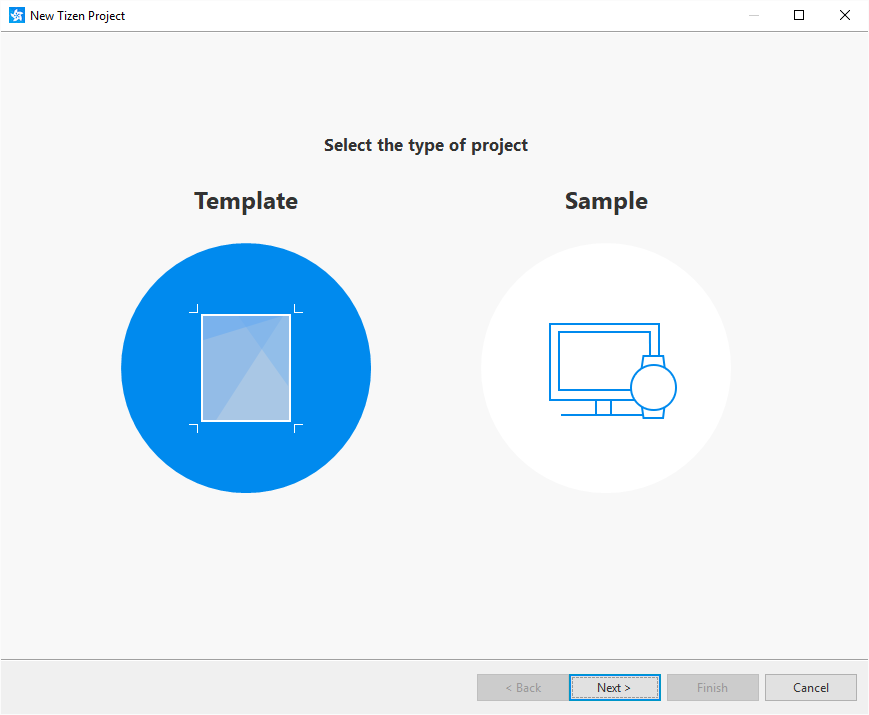
Select "Template" or "Sample", and click "Next".
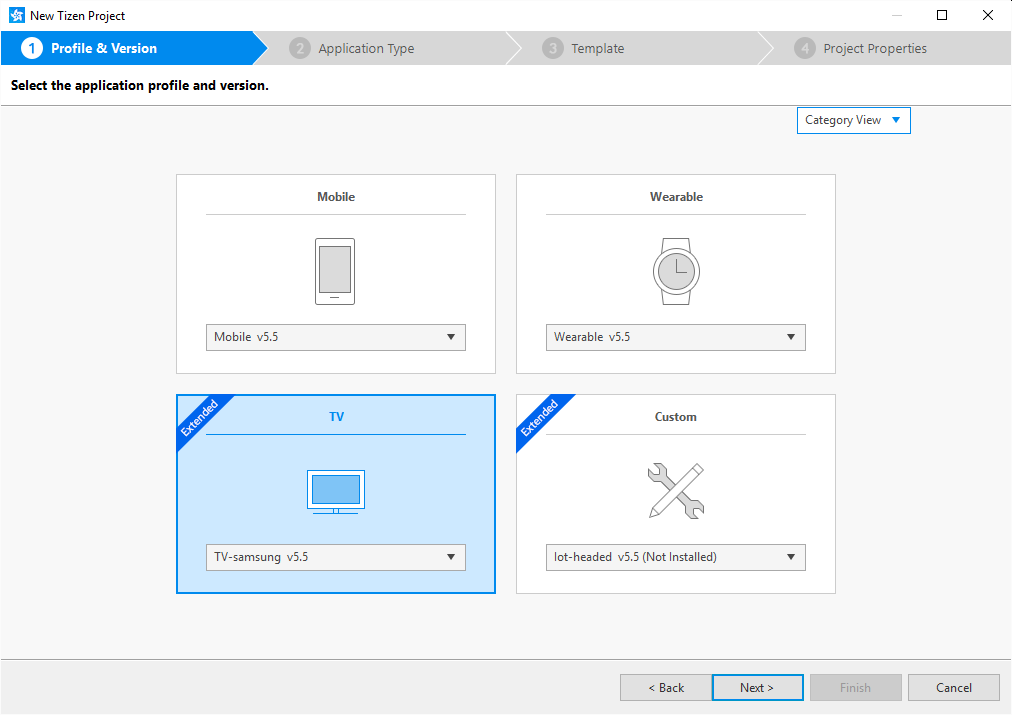
Select the profile "TV" and a version from the drop-down list and click "Next".
Note: To be able to develop WebAssembly you need to choose "TV-samsung v5.5" or a newer version.
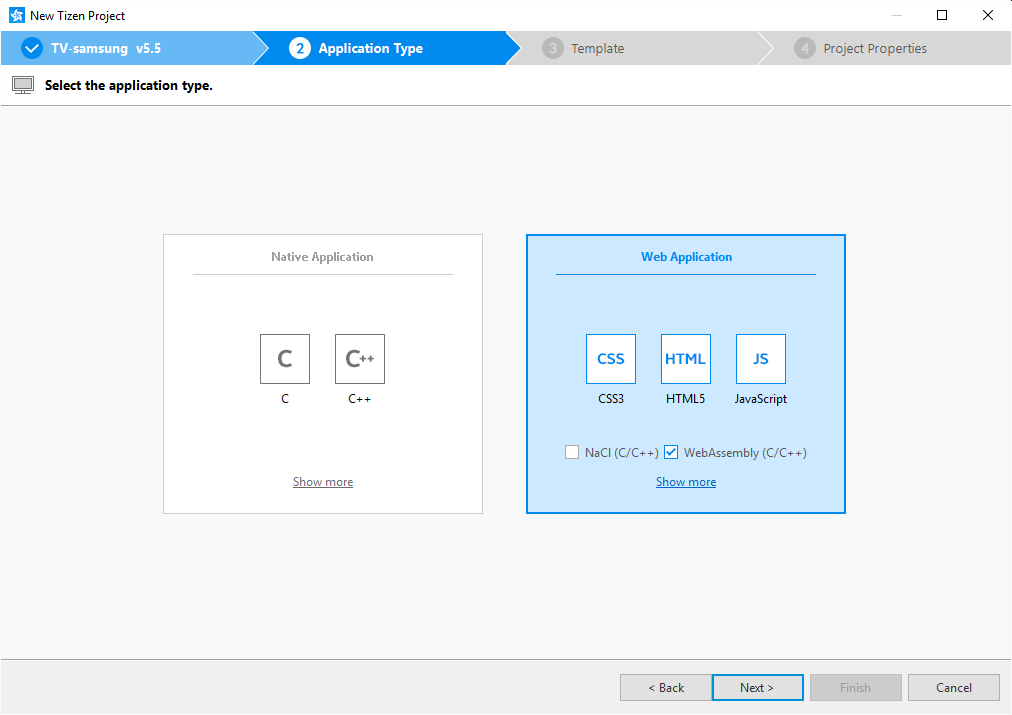
Select the "Web Application" as the application type, check the "WebAssembly (C/C++)" check box, and click "Next".
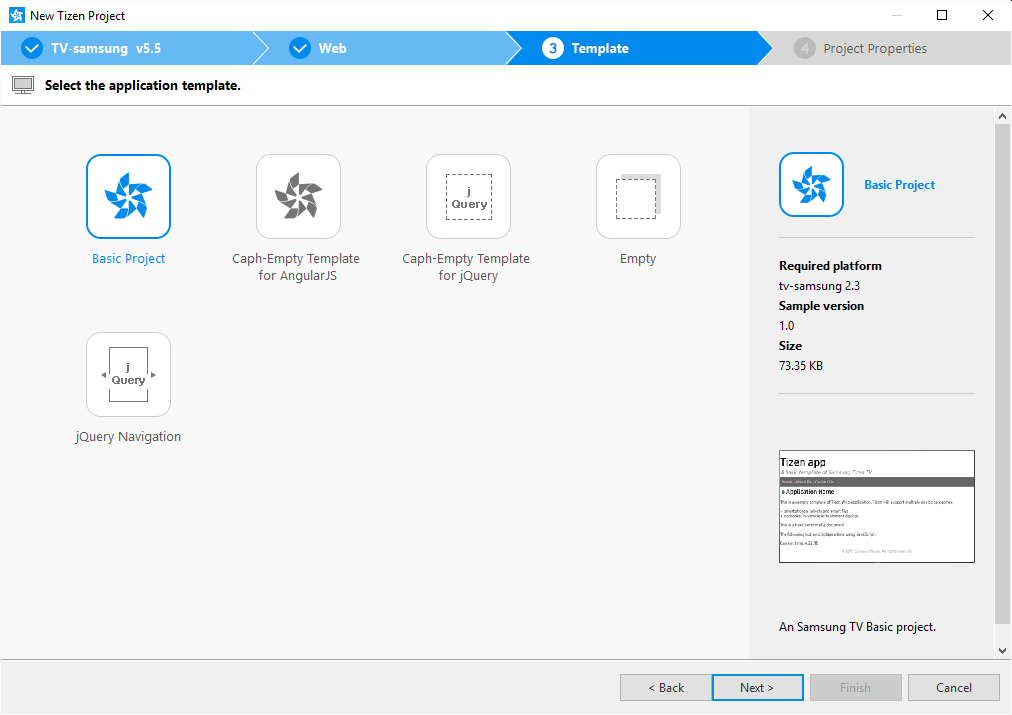
Select an application template and click "Next".
The Tizen Project Wizard creates the project based on the selection.
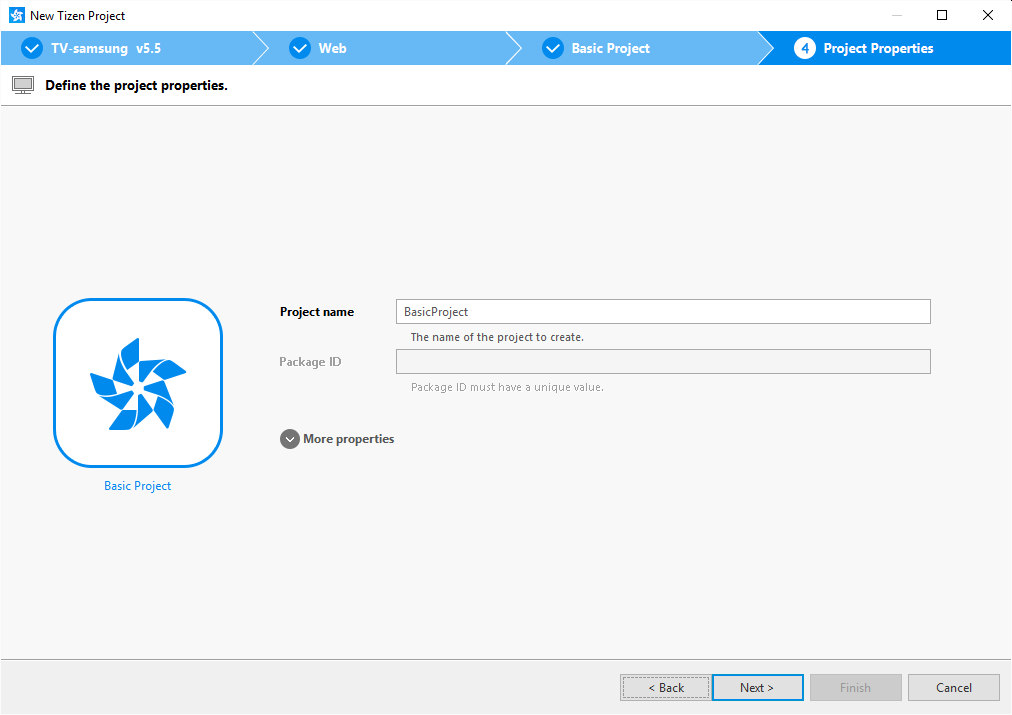
Define the project properties and click "Next".
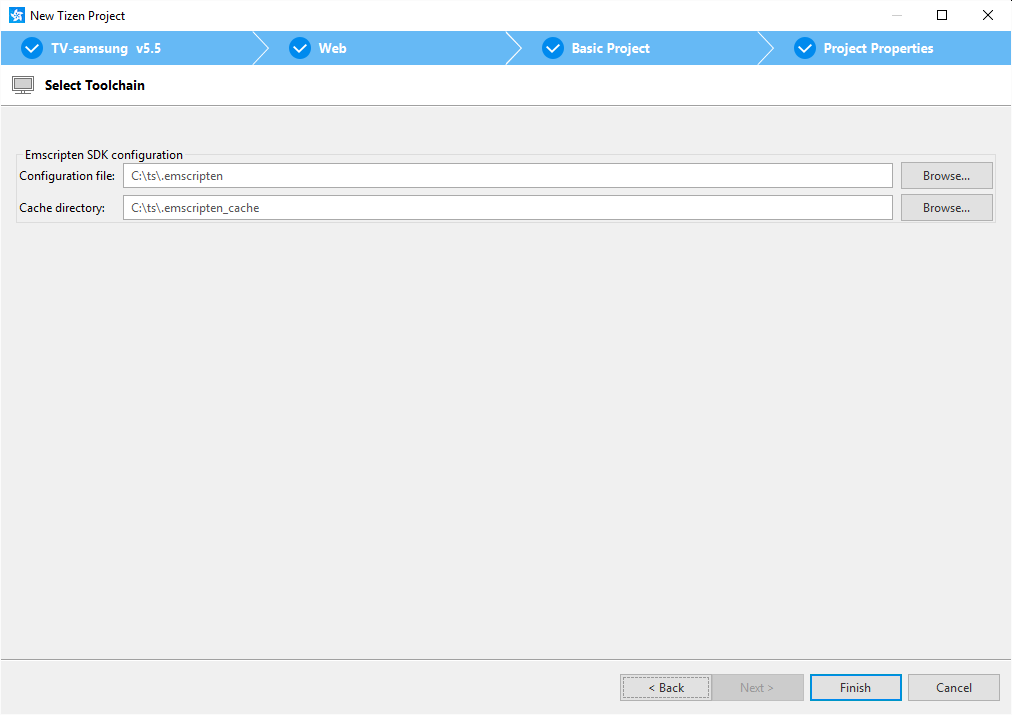
Enter paths to the Samsung Emscripten SDK configuration file and cache directory.
The Emscripten SDK configuration file (.emscripten) is the one that was created in the Setting Up Samsung Emscripten SDK stage.
The paths can either be entered manually or you can click the "Browse..." button and select the path. Click "Finish".
NoteThe configuration file must exist and be readable - otherwise it cannot be selected. If the selected cache directory does not exist, it is created on the first time the WebAssembly module is built.
ImportantIt is recommended to set a different cache directory for each WebAssembly module so that each cache can be cleared when required without impacting other caches.
Adding a WebAssembly Module to Web Applications
To add a WebAssembly module to a Web application:
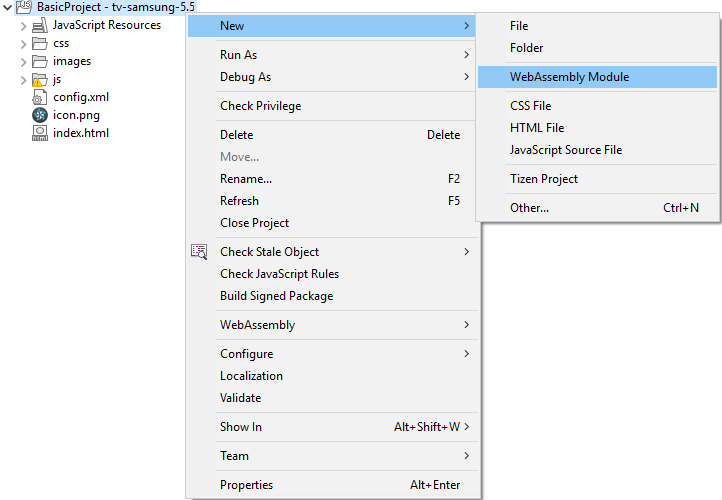
In the Tizen Studio "Project Explorer" view, right-click on the Web application project that you have created in the previous section.
Select "New > WebAssembly Module".
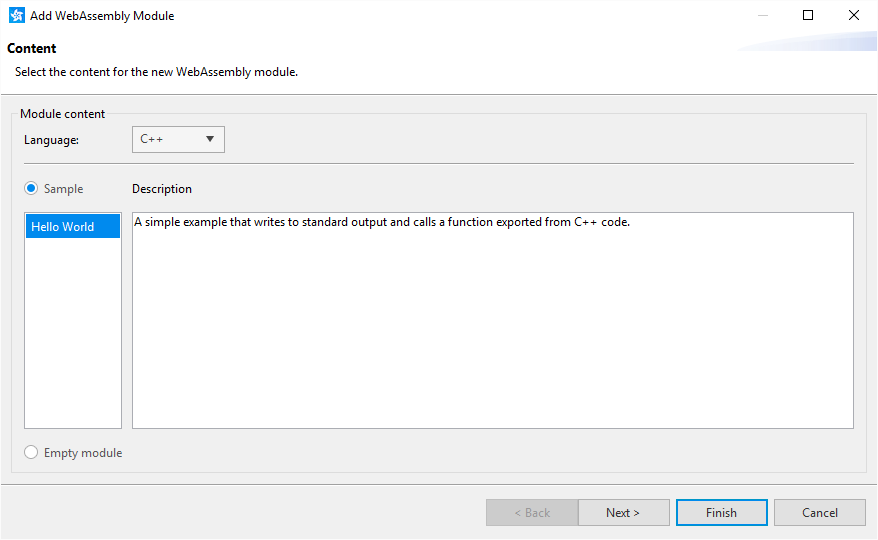
Specify C++ as the programming language, and click the HelloWorld sample, and then click "Next".
NoteIf you do not want to use a sample, you can also select an empty module for the module content. The empty module is a basic WebAssembly module that does not provide any particular functionality. It can be used as a starting point for creating the target WebAssembly module (usually much more complicated and comprised of several header and source files).
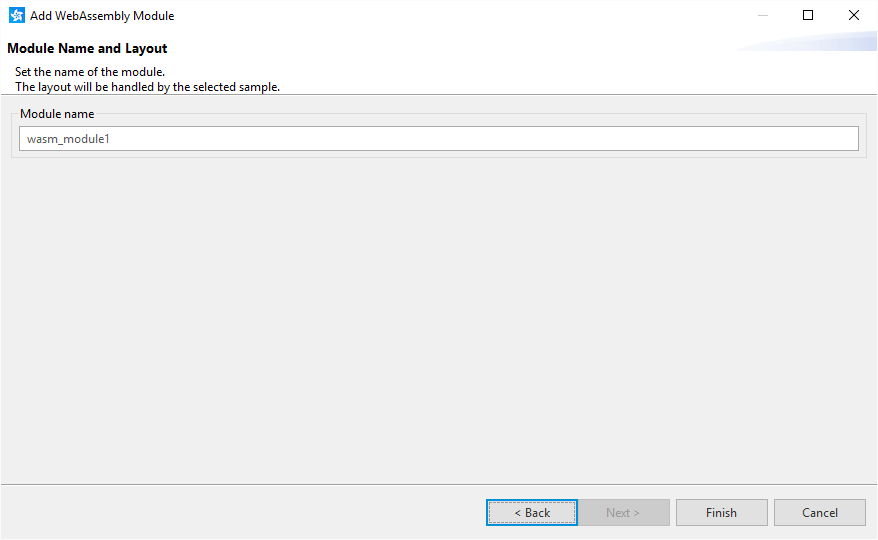
Define the module name. The module name must be unique in the current workspace.
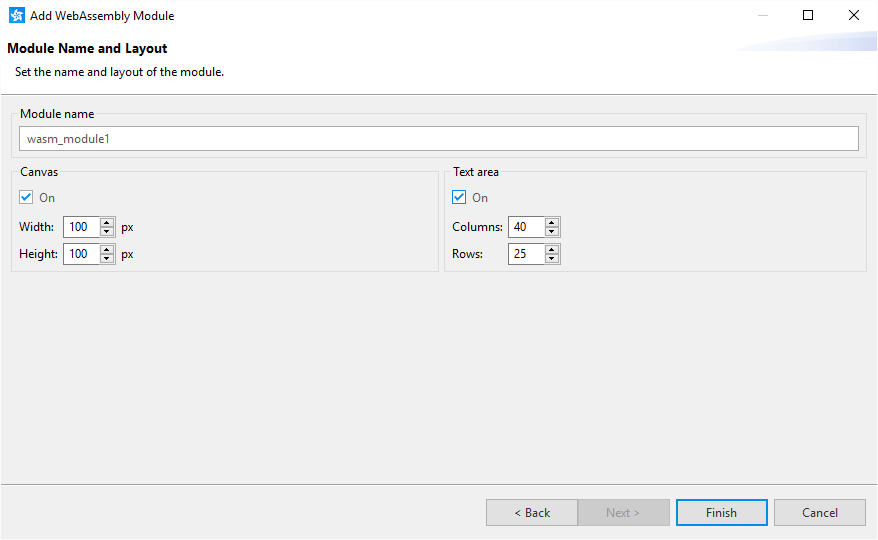
Define the canvas and text area (if required) for displaying the WebAssembly module on the Web page, and click "Finish".
NoteIf a sample module (like HelloWorld) is selected, the position and size controls are not visible, because the module display layout is controlled by the sample's settings.
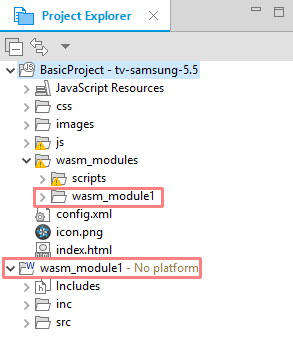
The module is created within the wasm_modules folder in the TV application project. It also appears as its own project in the "Project Explorer" view, so you can configure and develop the module separately.
Manage Your Cookies
We use cookies to improve your experience on our website and to show you relevant
advertising. Manage you settings for our cookies below.
Essential Cookies
These cookies are essential as they enable you to move around the website. This
category cannot be disabled.
Company
Domain
Samsung Electronics
developer.samsung.com, .samsung.com
Analytical/Performance Cookies
These cookies collect information about how you use our website. for example which
pages you visit most often. All information these cookies collect is used to improve
how the website works.
Company
Domain
Samsung Electronics
.samsung.com
Functionality Cookies
These cookies allow our website to remember choices you make (such as your user name, language or the region your are in) and
tailor the website to provide enhanced features and content for you.
Company
Domain
Samsung Electronics
developer.samsung.com, google.account.samsung.com
Preferences Submitted
You have successfully updated your cookie preferences.