The Tizen .NET framework allows you to easily and efficiently create applications for Tizen. This topic describes the basic steps for creating and running a .NET TV application. It also describes how you can create a Tizen project as part of a cross-platform solution.
Study the following instructions to help familiarize yourself with the Tizen .NET application development process. With the instructions, you can create and run a basic .NET application, which displays some text on the screen with no user interaction.
Create a project using Visual Studio.
This step shows how you can use a predesigned project template that creates all the basic files and folders required for your project.
Build the application.
After you have implemented code for the features you want, this step shows how you can build the application to validate and compile the code.
Deploy and run the application.
This step shows how you can deploy and run the application on the emulator or a real device. You can also debug the application.
Creating a Project
The following example shows you how to create and configure a basic Tizen .NET TV application project in Visual Studio. An application project contains all the files that make up an application.
To create a new Tizen .NET project:
Launch Visual Studio.
In the Visual Studio menu, select "File > New > Project".
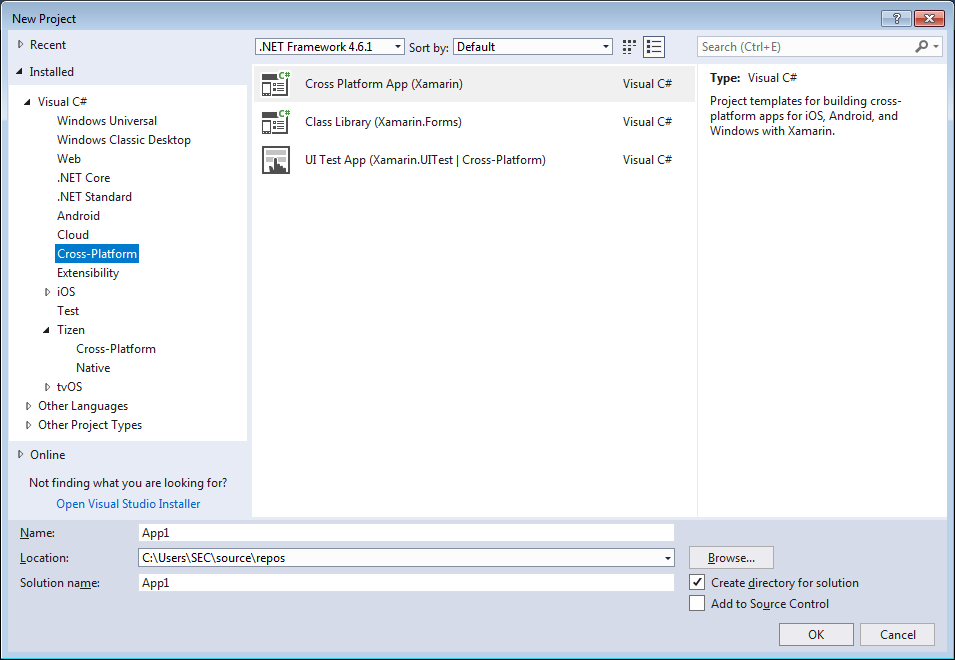
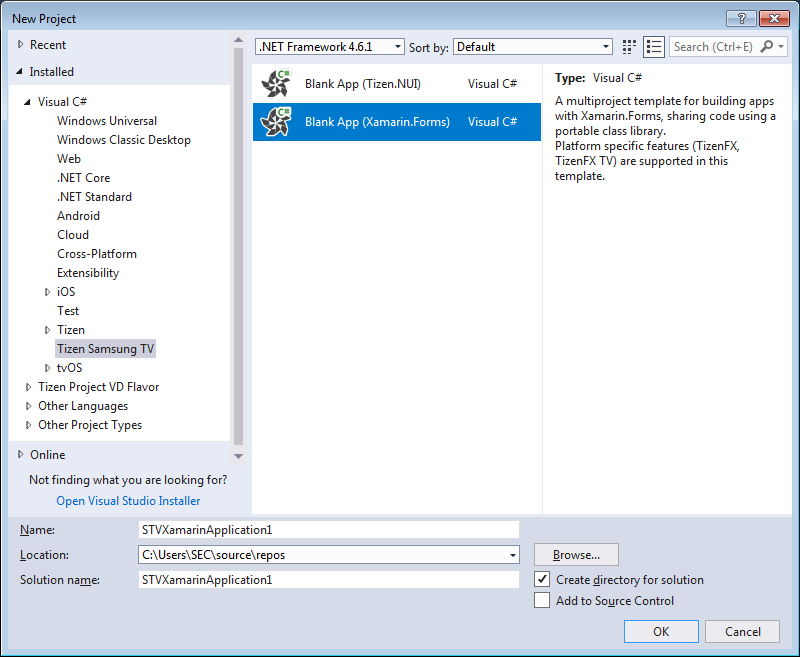
The "New Project" dialog opens.
Select "Templates > Visual C# > Tizen Samsung TV", and select the "Blank App (Xamarin.Forms)" template.
Define the project properties and click "OK". You can enter the name, location, and solution name.
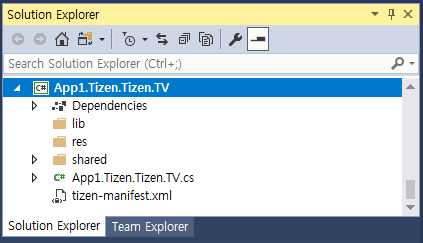
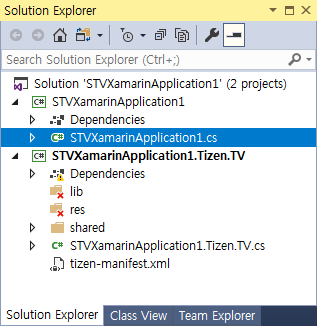
A solution with 2 projects is created and shown in the "Solution Explorer" view:
The <projectname> project contains the Xamarin.Forms code shared across platforms.
The <projectname>.Tizen.TV" project contains code to instantiate your TV application within the Tizen framework.
If you are already familiar with Xamarin.Forms, this project has the same structure as a Xamarin.Forms portable application. The <projectname> project is the portable class library and the other is a platform-specific project; in Tizen .NET, only a Tizen platform-specific project is generated.
The ".cs" file in the portable project already contains simple Xamarin.Forms code that makes a basic UI.
Building the Application
After you have created the application project, you can implement the required features. In this example, only the default features from the project template are used, and no code changes are required.
When your application code is ready, build the application. The building process performs a validation check and compiles your files. You must sign the application package with an author certificate when building the application. If you have not yet registered a Tizen certificate in Visual Studio, see Certificate Manager.
There are 2 different ways to build the application:
In the Visual Studio menu, select "Build > Build Solution".
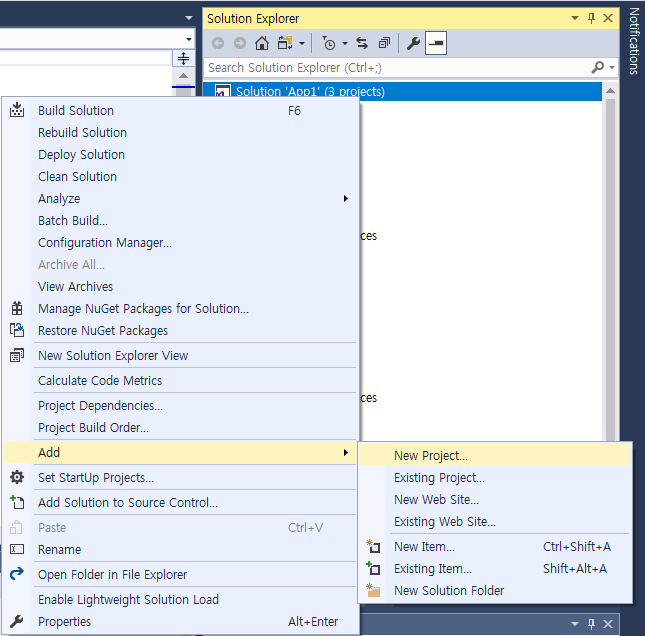
In the "Solution Explorer" view, right-click the solution name and select "Build".
Tizen .NET applications are always deployed as installed packages. The package files have the ".tpk" file extension, and the package generation is controlled by the manifest file. The Visual Studio template generates the manifest file ("tizen-manifest.xml") to the top level of the <projectname>.Tizen project (if you create a project with both mobile and TV profiles, a separate manifest file is generated for each profile).
After you have built the application, deploy and run it.
Deploying and Running the Application
To run the application, you must first deploy it to the target: either an emulator or a device. Deploying means transferring the package file (".tpk") to the target and invoking the Tizen package manager to install it.
To deploy and run the application on the emulator:
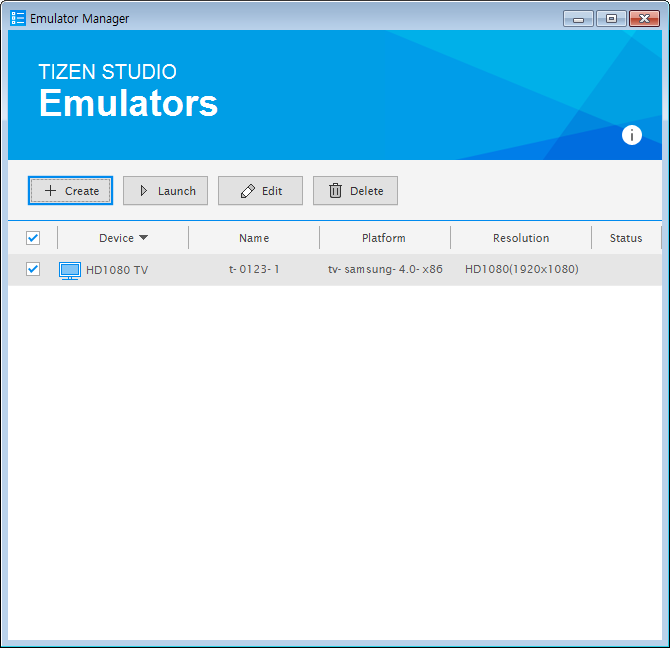
In the Visual Studio menu, select "Tools > Tizen > Tizen Emulator Manager".
In the Emulator Manager, select an emulator from the list, and click "Launch".
If no applicable emulator exists, create one.
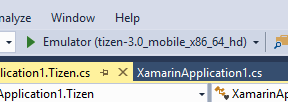
When the emulator is successfully launched, you can see it on the Visual Studio toolbar.
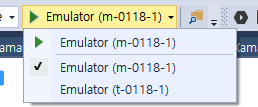
To change the deployment target in the Visual Studio toolbar, select the target from the drop-down list.
To launch the application, in the Visual Studio menu, select "Debug > Start Without Debugging", or press "Ctrl+F5".
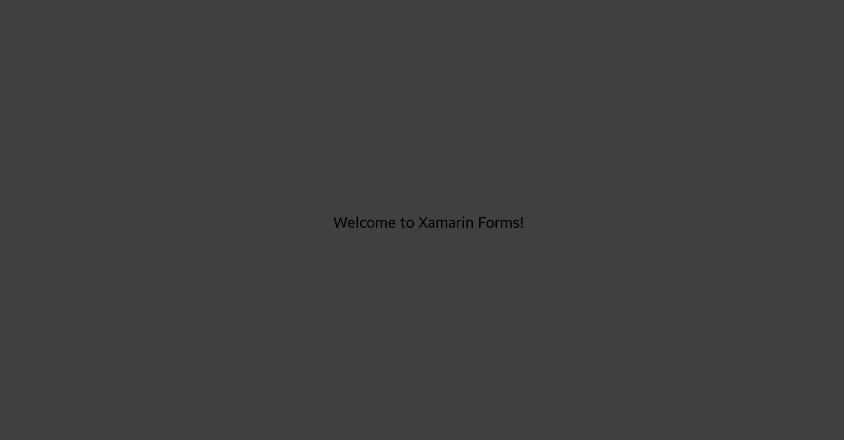
If deployment is successful, the application launches on the TV emulator.
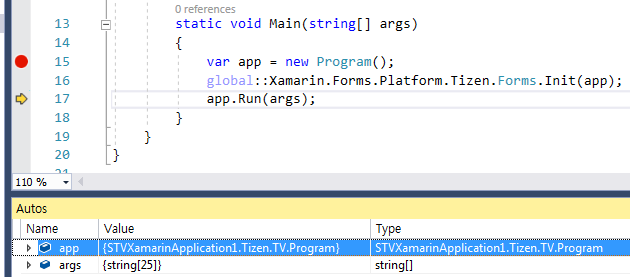
To debug the application:
To create a breakpoint in the source code, click the left margin next to the code line.
To launch the application with the debugger enabled, select "Debug > Start Debugging", or press "F5".
To deploy and run the application on an actual TV:
Connect your computer and the TV to the same network.
In the Visual Studio toolbar, click "Remote Device Manager" ().
If you do not see the "Remote Device Manager" button, open the Tizen toolbar by selecting "View > Toolbars > Tizen".
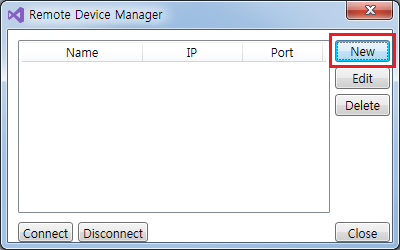
The Remote Device Manager launches.
If the TV is not in the list, you must add it:
To add a TV, click "New".
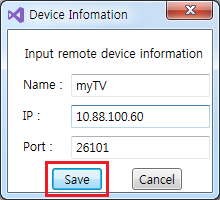
Enter the TV name, IP address, and port number, and click "Save".
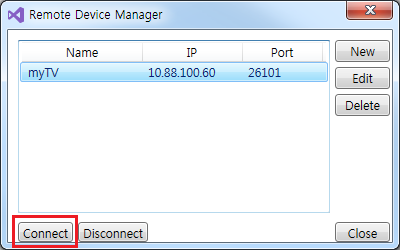
To connect to the TV, select it from the list and click "Connect".
When the TV is successfully connected, you can see it on the Visual Studio toolbar.
To launch the application on the TV, in the Visual Studio menu, select "Debug > Start Without Debugging", or press "Ctrl+F5".
If deployment is successful, the application launches on the TV.
Creating Tizen Projects as Cross-platform Solutions
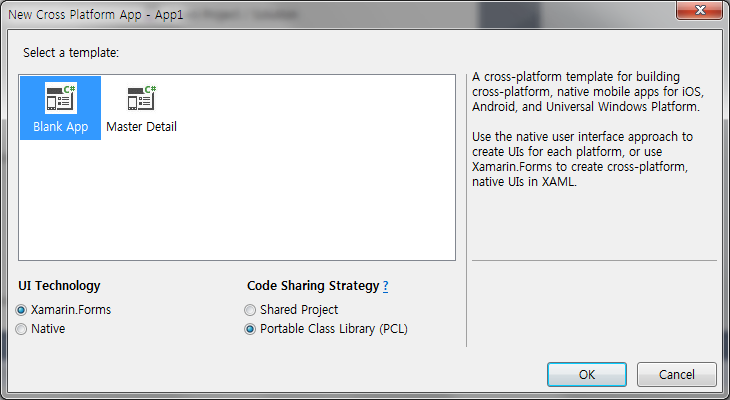
The Xamarin cross-platform template consists of a shared PCL (Portable Class Library) and multiple platform-dependent application projects. If you create your Tizen project as a cross-platform solution, you can easily add other platform-dependent project versions, such as iOS and Android™, to the same solution later.
To create a cross-platform solution and add a Tizen project to it:
In the Visual Studio menu, go to "File > New > Project".
In the Tizen Project Wizard, define the Tizen application package name and profile, and click "OK".
The Solution Explorer view shows the 1 or 2 Tizen projects (depending on the selected profiles) that are added to the existing cross-platform Xamarin.Forms solution. The Tizen project is set as the startup project.
Manage Your Cookies
We use cookies to improve your experience on our website and to show you relevant
advertising. Manage you settings for our cookies below.
Essential Cookies
These cookies are essential as they enable you to move around the website. This
category cannot be disabled.
Company
Domain
Samsung Electronics
developer.samsung.com, .samsung.com
Analytical/Performance Cookies
These cookies collect information about how you use our website. for example which
pages you visit most often. All information these cookies collect is used to improve
how the website works.
Company
Domain
Samsung Electronics
.samsung.com
Functionality Cookies
These cookies allow our website to remember choices you make (such as your user name, language or the region your are in) and
tailor the website to provide enhanced features and content for you.
Company
Domain
Samsung Electronics
developer.samsung.com, google.account.samsung.com
Preferences Submitted
You have successfully updated your cookie preferences.

 ).
).