This topic describes how to create a new Tizen project in the Tizen Studio.
You can create a new Tizen project using the provided templates and samples, and the available configuration settings.
To create a new Web project, use the Tizen Project Wizard, which is a Tizen Studio tool. If you have an existing Tizen project you want to update, you can import it to your current Tizen Studio.
The Tizen Studio provides various project templates and samples that make it easier for you to start coding your application. When you create a new project, you can select a specific template, which the Tizen Project Wizard uses to automatically create basic functionalities for the application. The default project files and folders are also created.
In the Tizen Project Wizard, you can select a profile and version, application type, and template or sample to create the project. In addition, you can set basic project properties, such as the project name, location, and working sets.
To create a new Web application:
To launch the Tizen Project Wizard, use one of the following:
In the Tizen Studio menu, select "File > New > Tizen Project".
In the Tizen Studio toolbar, click "New" ().
Right-click in the "Project Explorer" view, and select "New > Tizen Project".
If there is no project in the workspace, click "Create new project" () in the "Project Explorer" view.
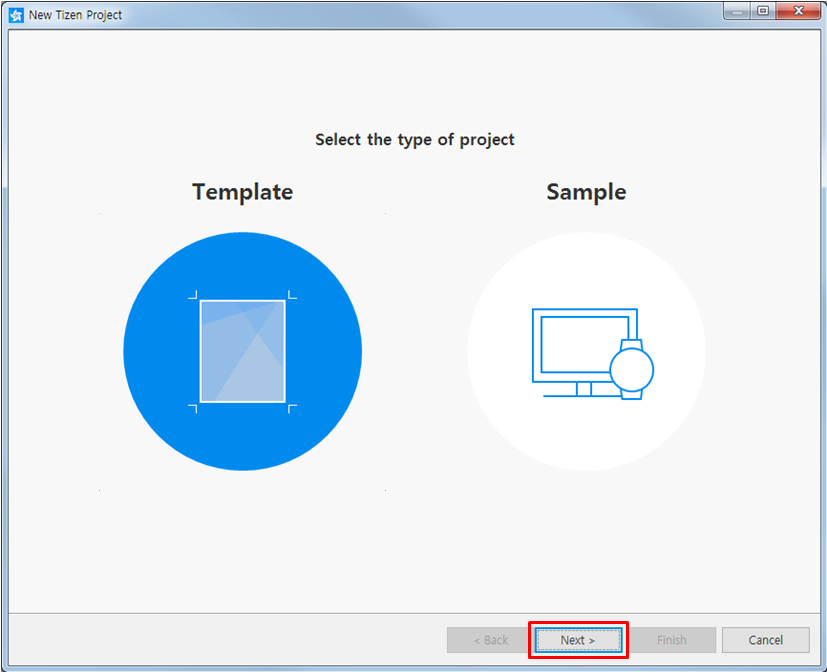
In the "Tizen Project Wizard", select the project type and click "Next".
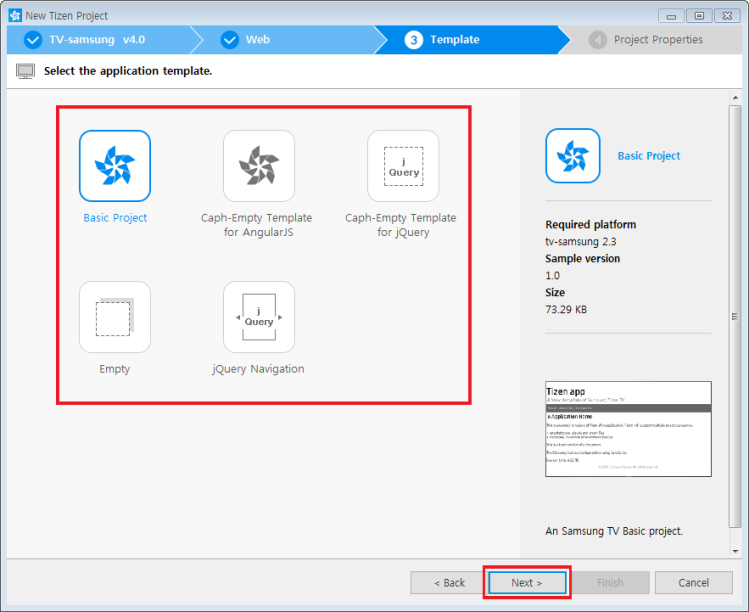
The "Template" option provides a list of templates with a basic structure where you can start the Web application project:
Basic Project: Template project for a simple Tizen application that you can launch. The "main.js" file in this template includes a keycode handling template for handling remote controller keys. This template is recommended as a general-purpose template.
Caph3.0-Empty Template for AngularJS/jQuery: Template projects based on CAPH 3.0. CAPH is a Web UI framework for Smart TV that lets you develop high-performance Web applications easily and quickly. For more information, see CAPH.
NoteCAPH is supported only for Smart TVs, not for hospitality displays nor signage displays.
Empty: Template project containing an empty "main.js" file, basic "icon.png" and "config.xml" files, and an empty "index.html" file. This template is recommended when you want to develop an application from scratch.
jQuery Navigation: Template project for developing applications based on jQuery Mobile.
The "Sample" option provides a list of sample applications demonstrating various examples of API usage and UI design.
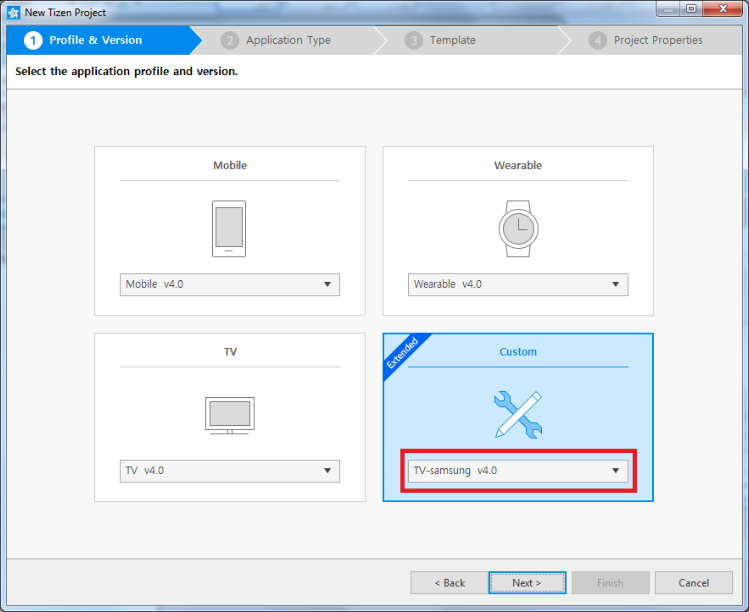
Select the profile ("Custom") and version from the drop-down list and click "Next". The available versions depend on the platform version you have installed and are using to develop the application.
Select the "Web Application" application type and click "Next".
Select a template or sample, and click "Next".
The Tizen Project Wizard creates the project based on the selected template or sample.
Define the project properties and click "Finish".
You can enter the project name and the unique package ID. You can also select the location and working sets by clicking "More properties".
NoteThe Tizen API names cannot be used as project names. The project name is case-insensitive and is restricted to the following regular expression: [a-zA-Z][a-zA-Z0-9-]{2,49}.
The options you can set are listed in the following table.
Property
Description
Project name
A name for the project to be created.
Use default location
If you check this option, the project is created in the $<workspace_location>/<project_name> directory.
Location
Manually select the location of the project. If you check the "Use default location" checkbox, this option is disabled.
Working sets
If you want to include the project in a specific working set, select a working set.
Table 1. Project properties
Configure the application.
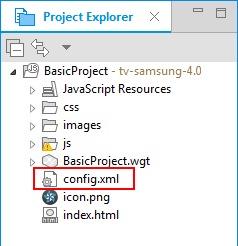
All application configuration settings are made inside the "config.xml" file. It contains information about the application, such as required device features and platform version, application icons, application ID and package name.
We use cookies to improve your experience on our website and to show you relevant
advertising. Manage you settings for our cookies below.
Essential Cookies
These cookies are essential as they enable you to move around the website. This
category cannot be disabled.
Company
Domain
Samsung Electronics
developer.samsung.com, .samsung.com
Analytical/Performance Cookies
These cookies collect information about how you use our website. for example which
pages you visit most often. All information these cookies collect is used to improve
how the website works.
Company
Domain
Samsung Electronics
.samsung.com
Functionality Cookies
These cookies allow our website to remember choices you make (such as your user name, language or the region your are in) and
tailor the website to provide enhanced features and content for you.
Company
Domain
Samsung Electronics
developer.samsung.com, google.account.samsung.com
Preferences Submitted
You have successfully updated your cookie preferences.